github action으로 jekyll 빌드와 배포 하기
다음의 단계로 배포 처리를 합니다.
graph TD; A[GITHUB] -->|설정| B(개인토큰발급); B --> C(Repository); C -->|설정| D(secret key 등록); D -->|파일생성| E(/.github/workflows/build.yml); E --> F(자동빌드배포);
설정 > 개인 토큰 발급
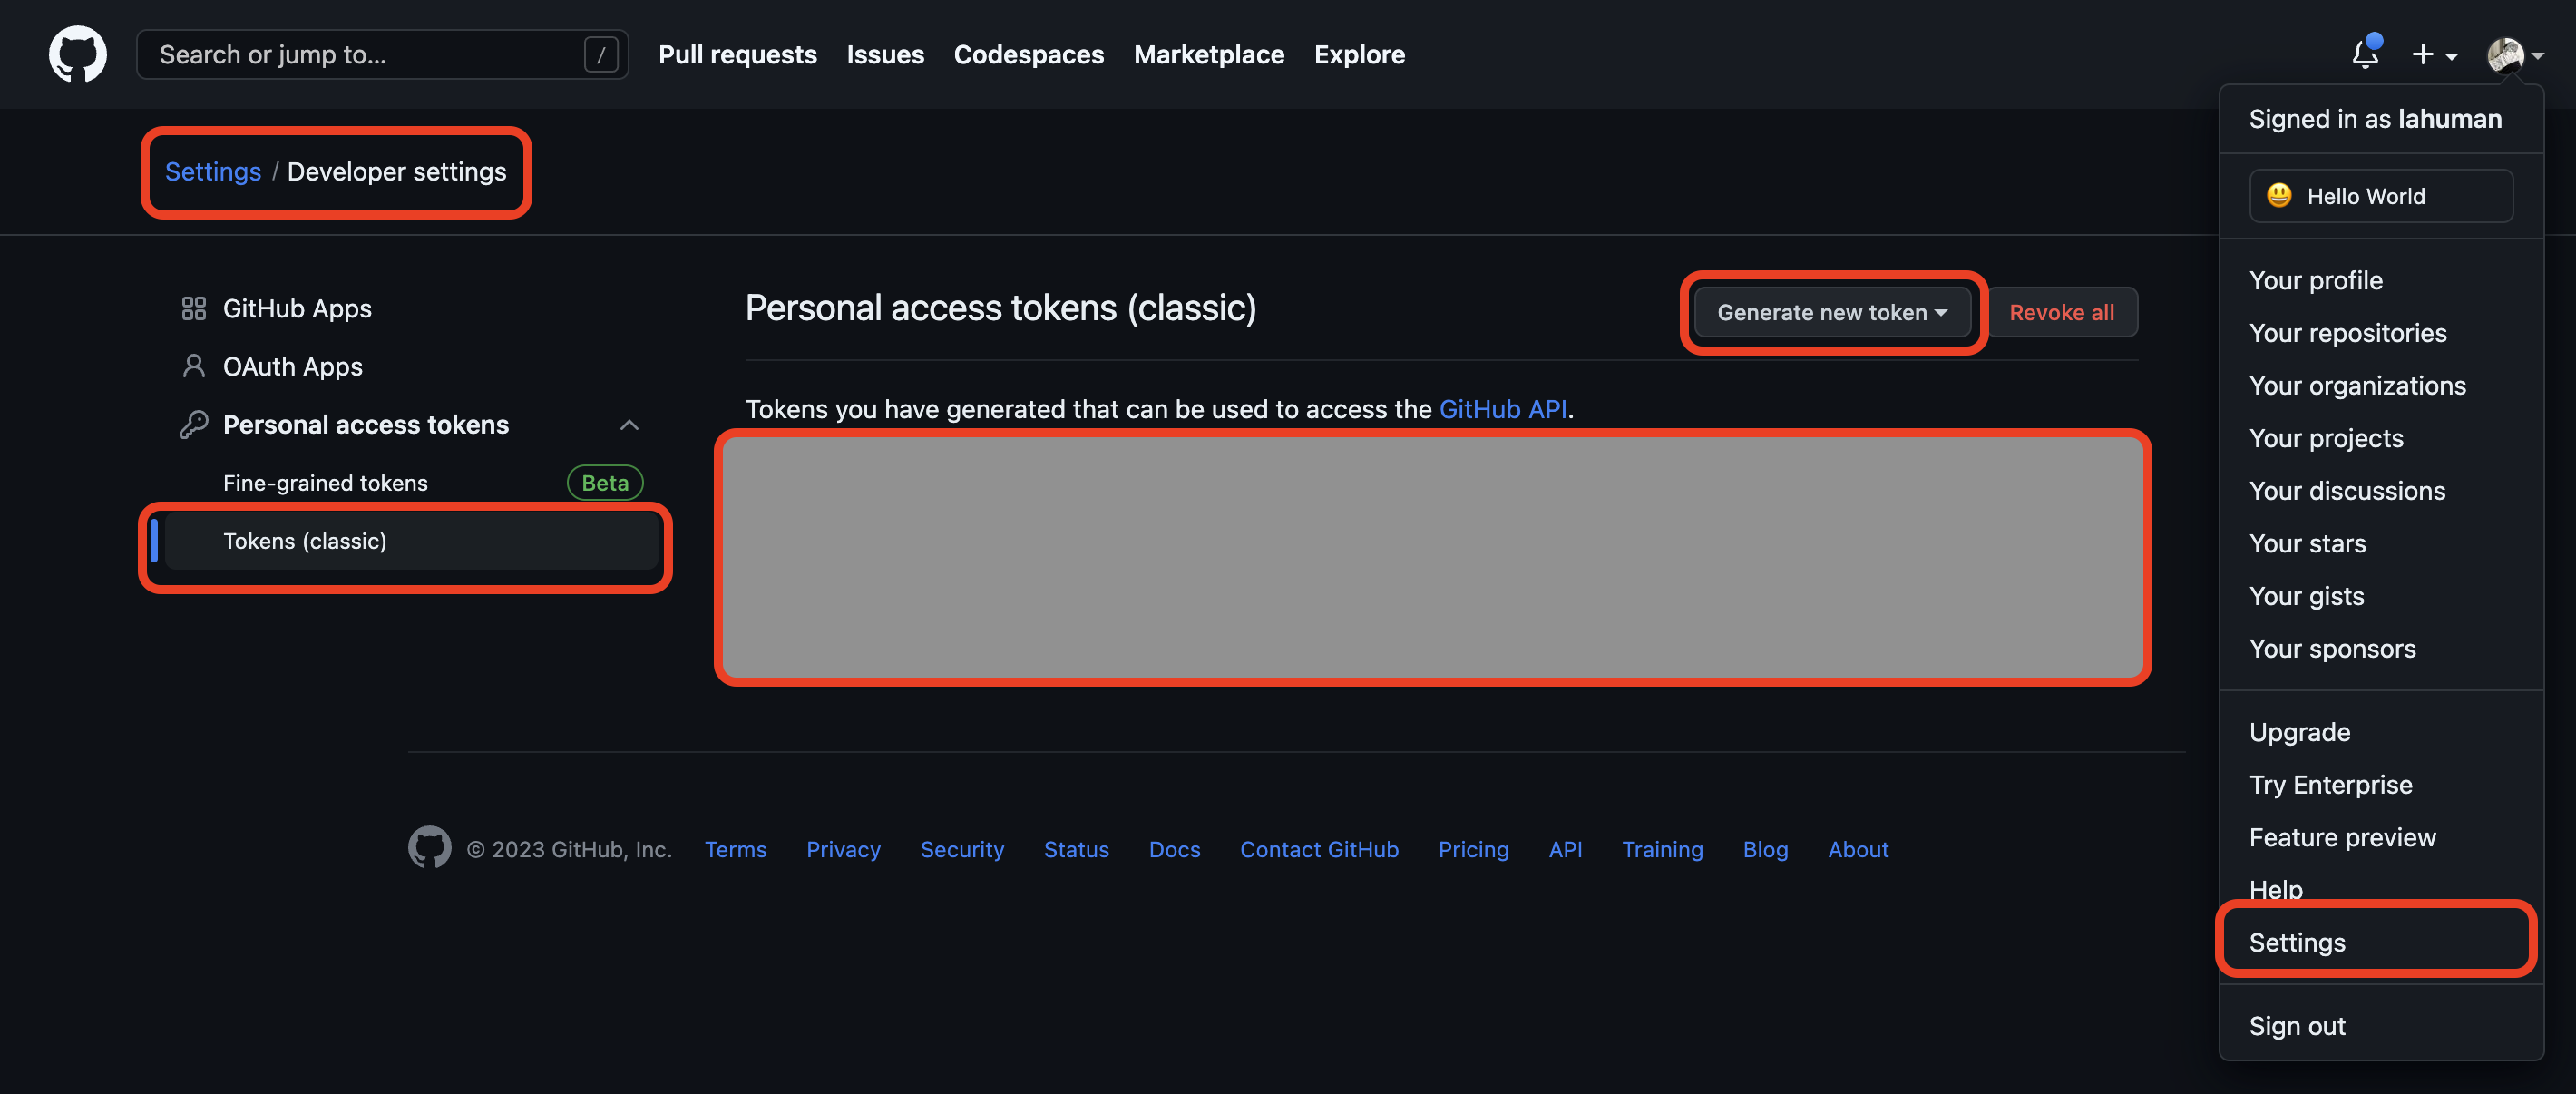
프로필 사진을 클릭 후Settings선택- 아래 메뉴에
Developer settings선택 Personal access tokens선택Create New tokens선택 후tokens (classic)선택
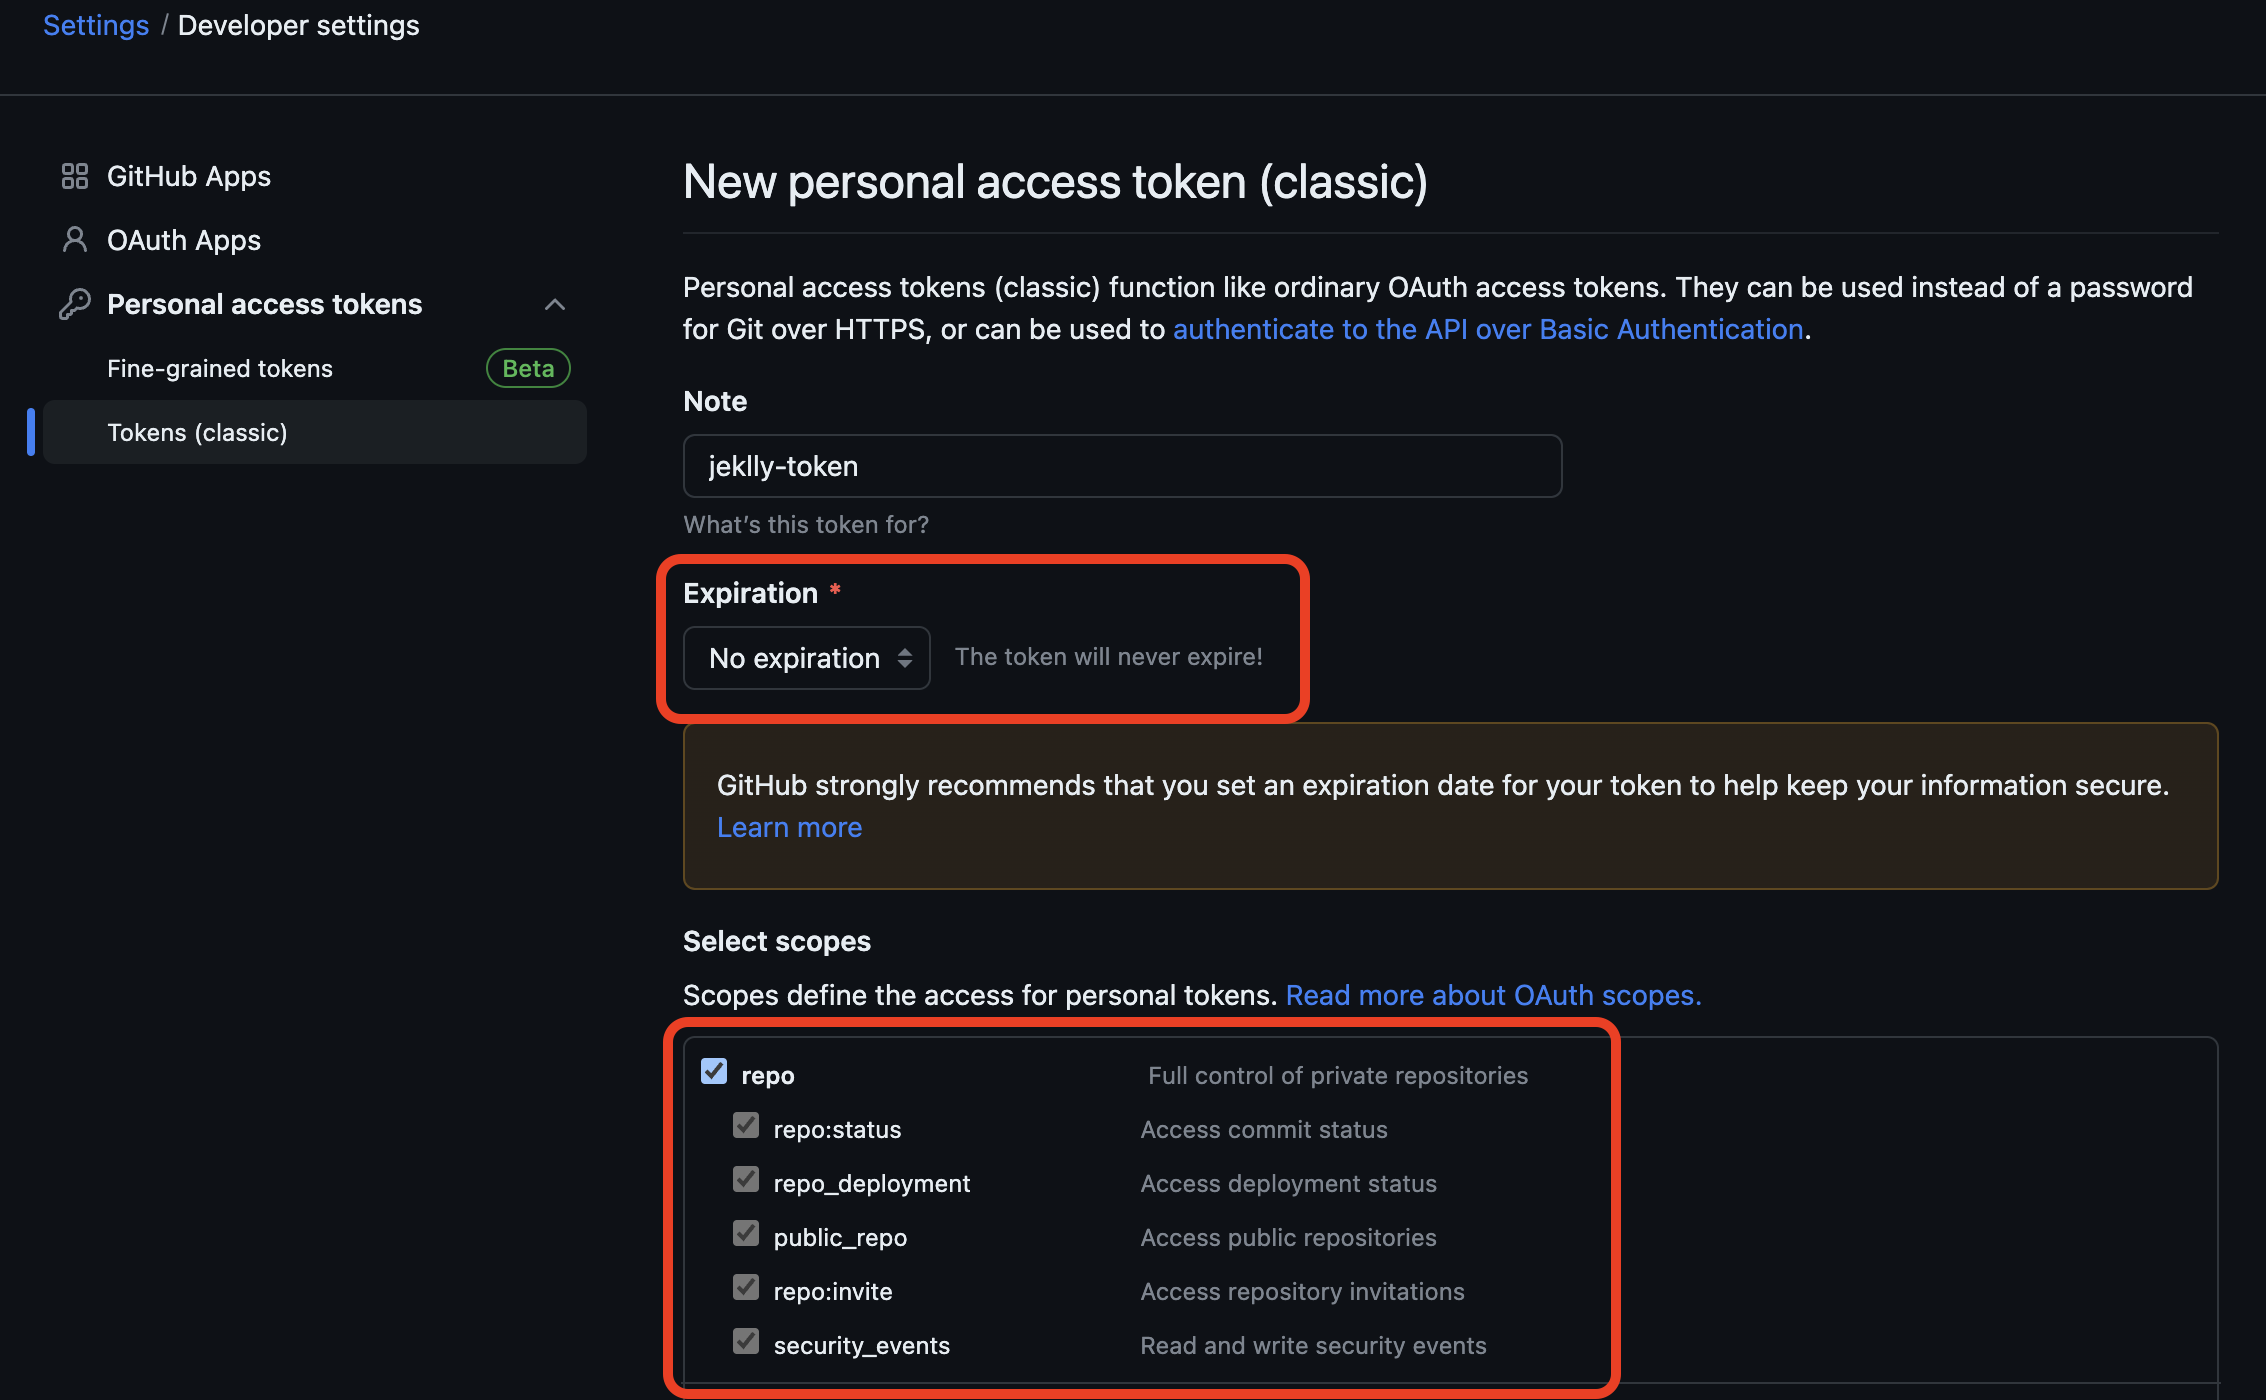
- 이름을 설정하고,
Expiration을No Expiration으로 설정- 만료일을 설정 시 추후 변경 필요함
Select scopes에서repo선택- repository에 읽고 쓰고 등의 처리를 위해 필요
Generated Token버튼 클릭으로 토큰 생성
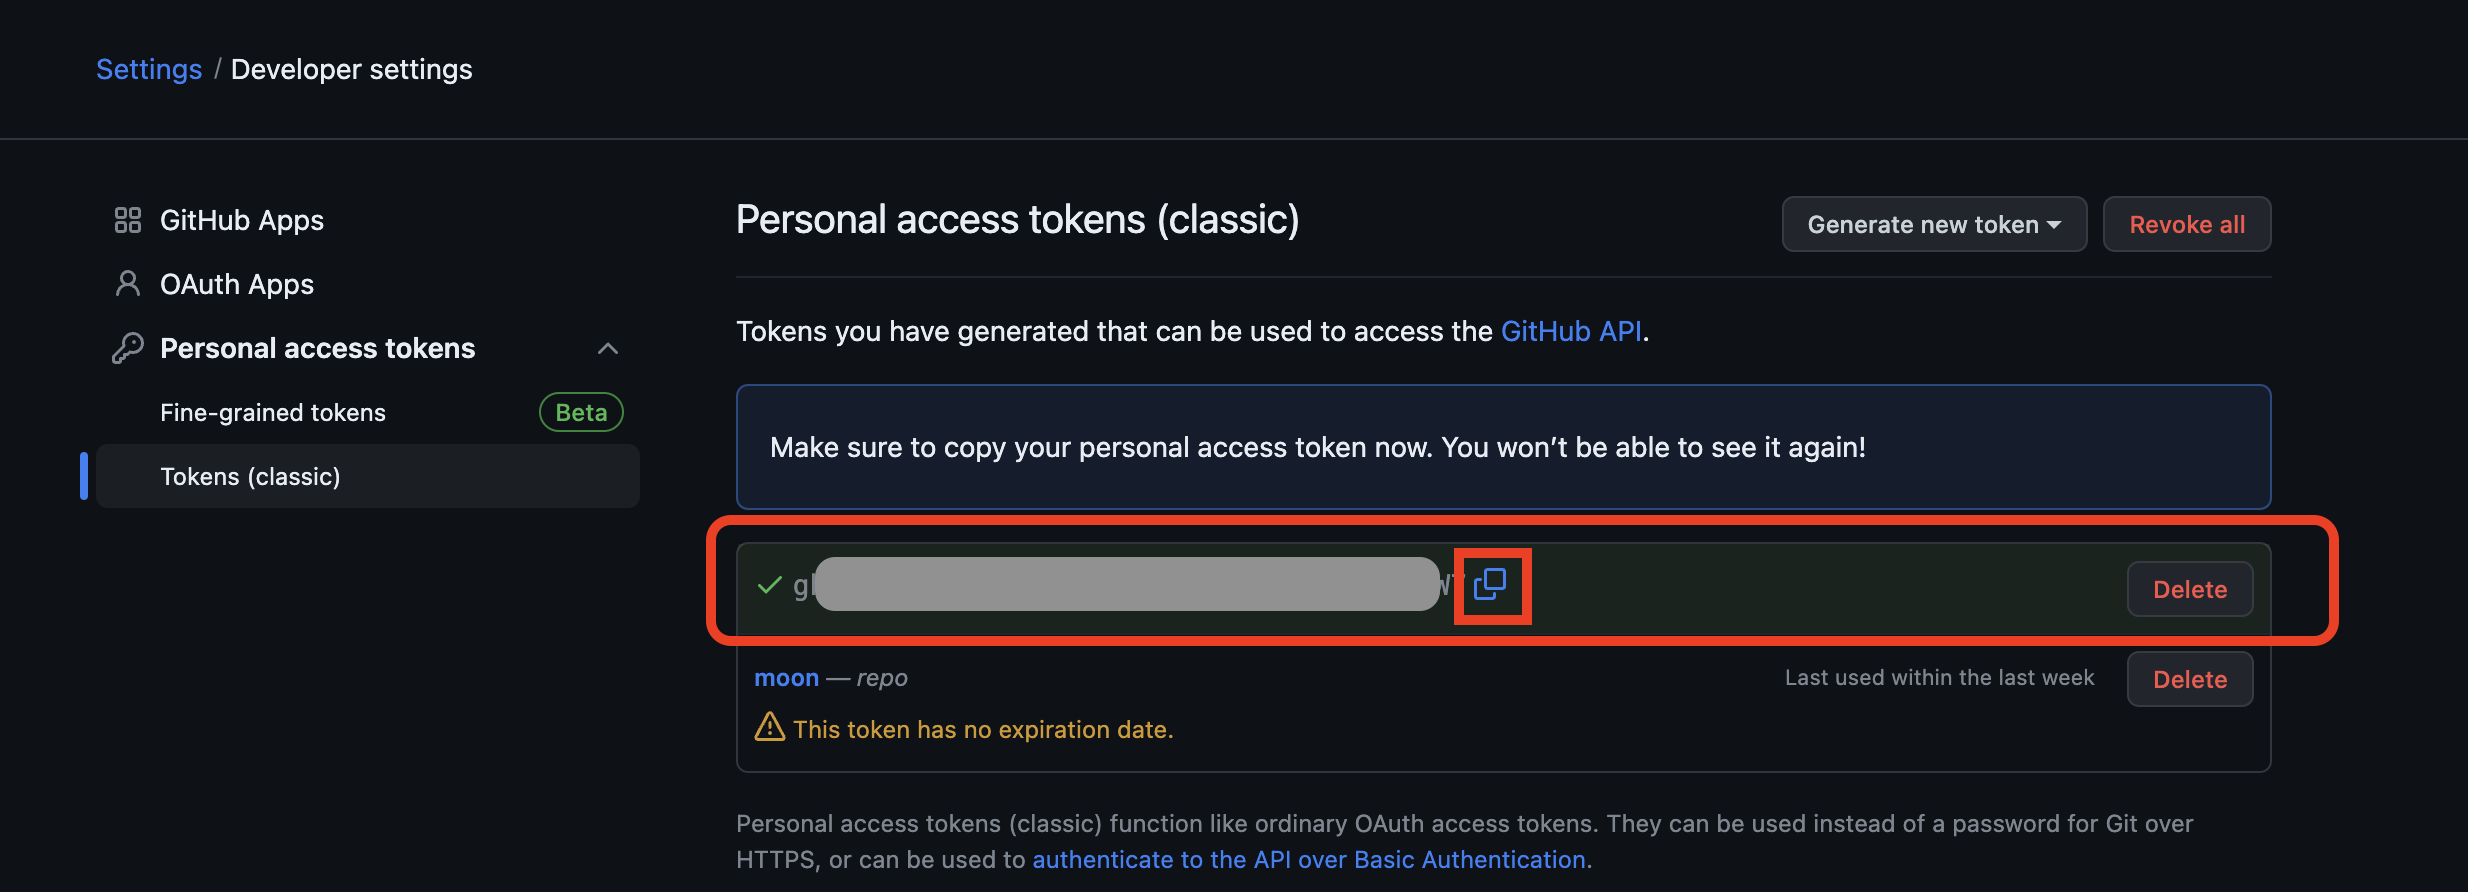
- 토큰 복사
- 토큰 값은 다시 확인이 불가하니 꼭 잘 저장 해야 함
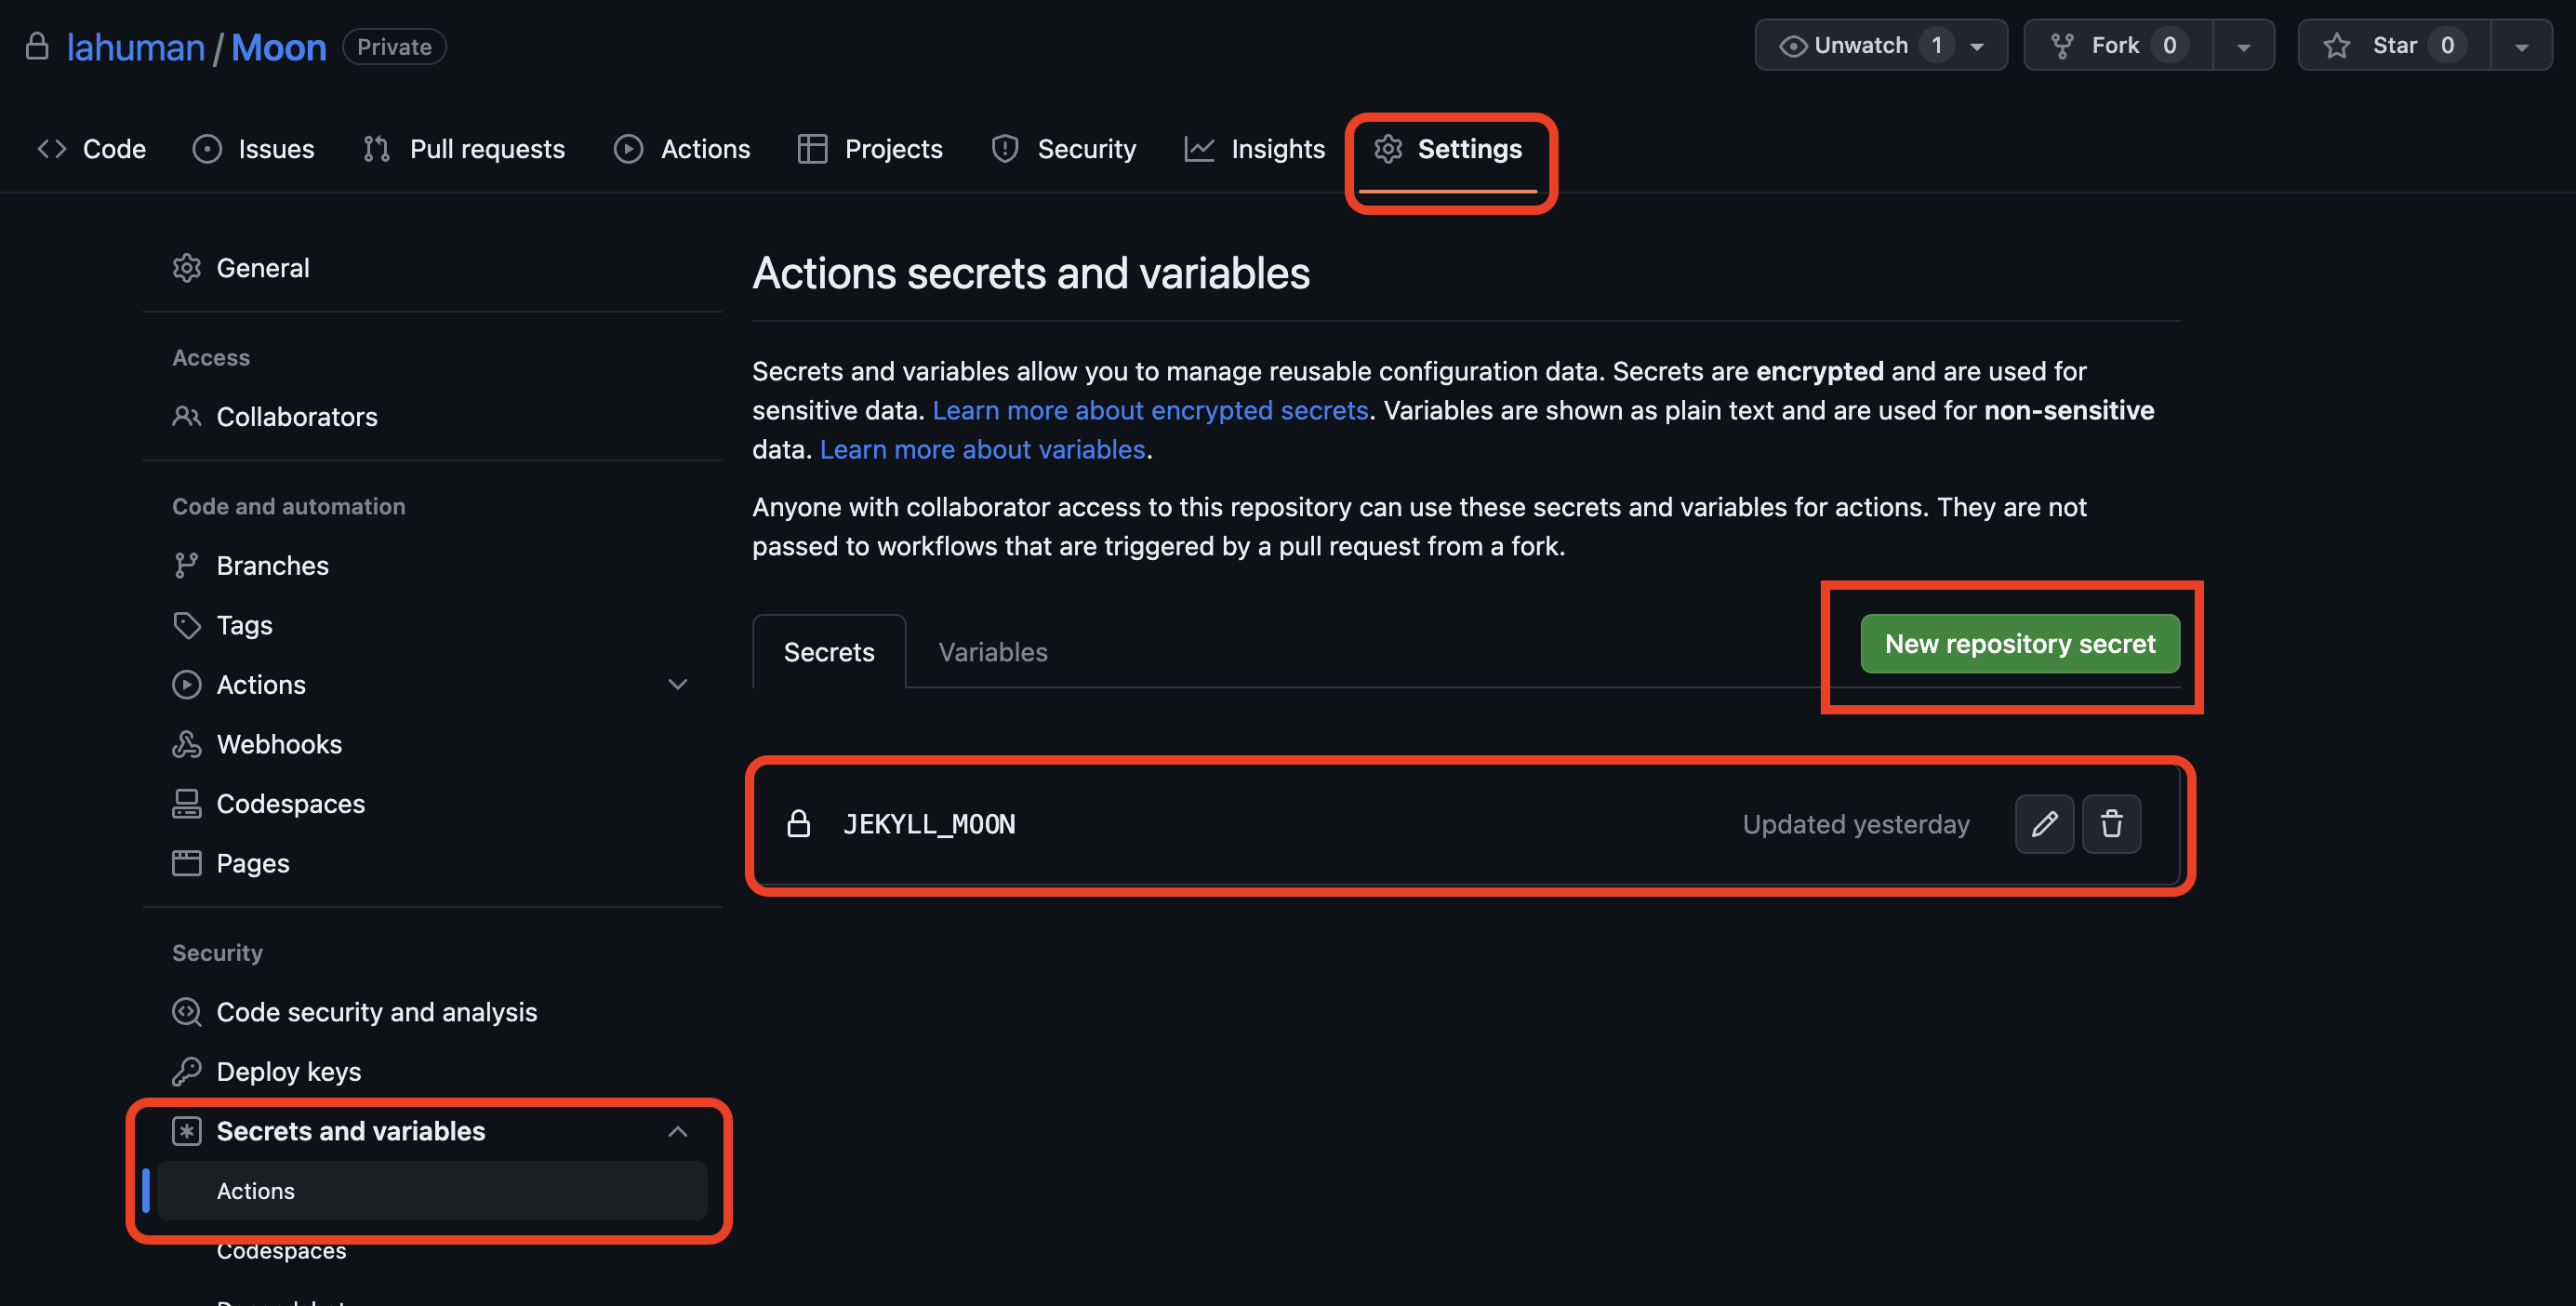
- 원천 소스가 되는
Repository로 이동 Secrets and variables선택Secrets탭에New Repository Secret선택- Name을
JEKYLL_MOON로 만들고 Secret에 생성된 토큰 값을 붙여 넣음

- root에
.github/workflows디렉토리를 생성후jekyll_build-and_push.yml파일을 생성
name: Jekyll build and deploy

on:
  push:
    branches:
      - master

jobs:
  build_and_deploy:
    runs-on: ubuntu-latest

    steps:
    - name: Checkout source repository
      uses: actions/checkout@v2

    - name: Set up Node
      uses: actions/setup-node@v3
      with:
        node-version: 16.14.2

    - name: Set up Ruby
      uses: ruby/setup-ruby@v1
      with:
        ruby-version: 2.7 # 3.x 로 설정시 오류 발생하여 2.7로 고정

    - name: Cache Ruby gems
      uses: actions/cache@v2
      with:
        path: vendor/bundle
        key: $-gems-$
        restore-keys: |
          $-gems-
    - name: Install dependencies
      run: |
        bundle config path vendor/bundle
        bundle install --jobs 4 --retry 3
    - name: Build Jekyll site
      run: bundle exec jekyll build

    - name: Deploy to target repository
      uses: peaceiris/actions-gh-pages@v3
      with:
        personal_token: $ # 생성한 token 정보 설정
        publish_dir: ./_site
        user_name: 'github-actions[bot]'
        user_email: 'github-actions[bot]@users.noreply.github.com'
        publish_branch: master # 대상 repository branch 정보
        external_repository: 'lahuman/lahuman.github.io' # 대상 repository
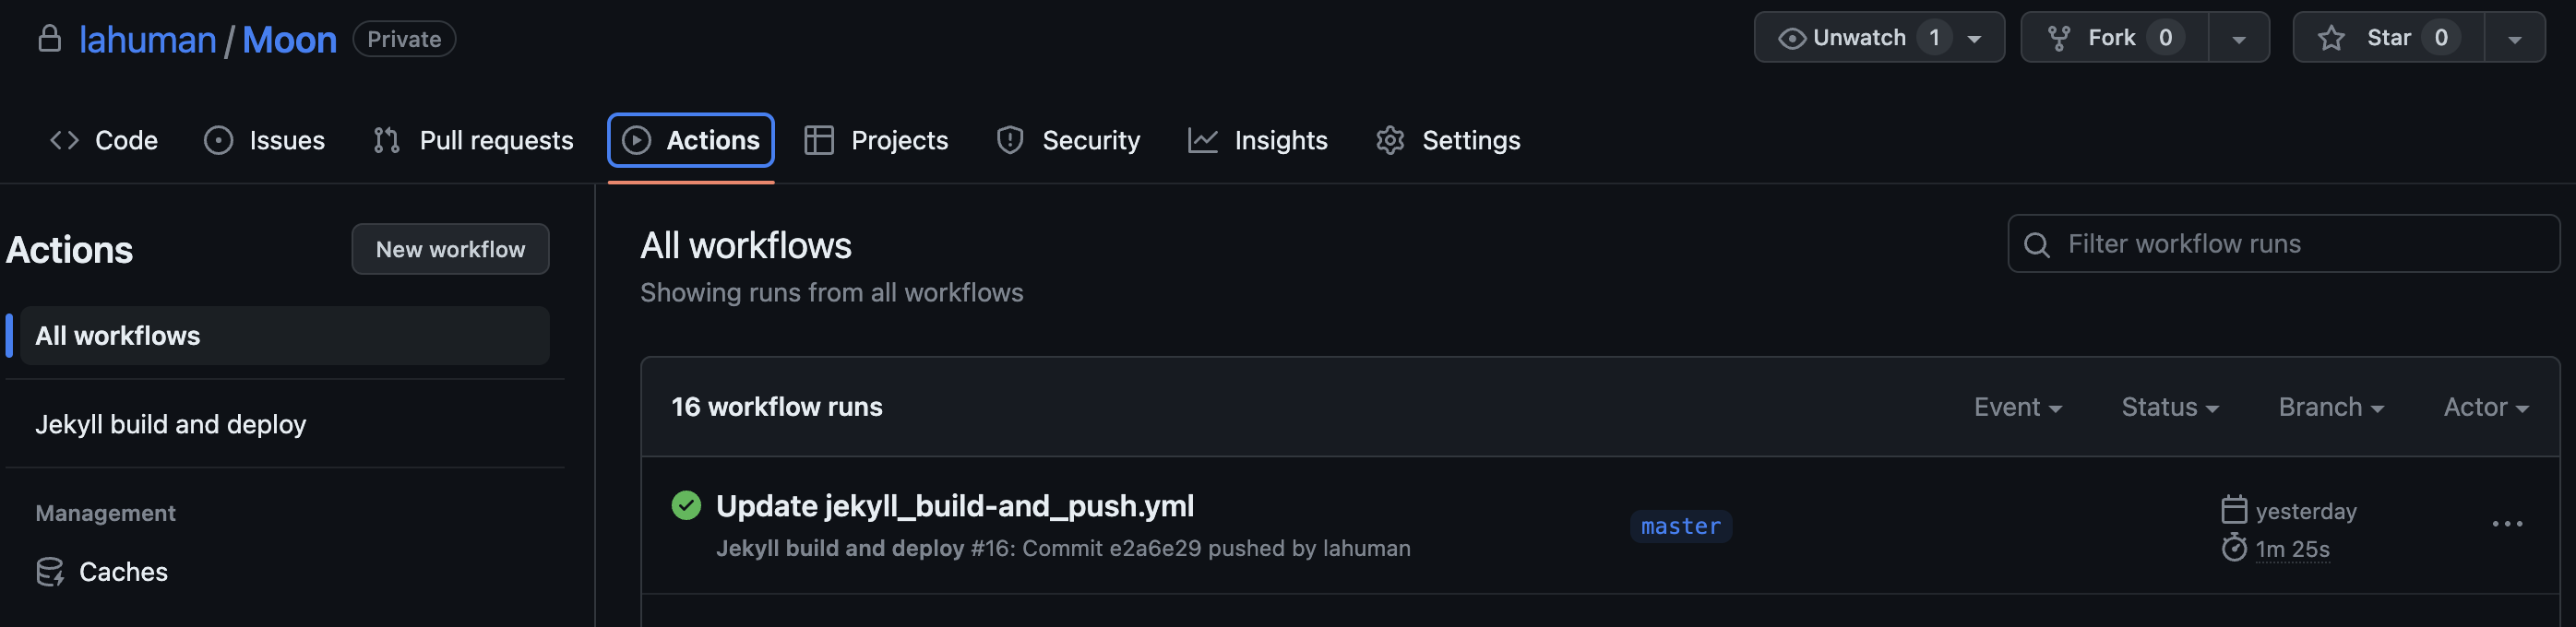
파일 저장이 완료 되면 아래와 같이 github action이 실행됩니다.
2017년부터 운영 중이던 github 블로그의 빌드와 배포를
github action을 이용해서 처리 했습니다.
알고 있었는데, 시도하는게 어려웠습니다.
오늘은 뒤로 후퇴하는게 아닌 앞으로 한 걸음 내딛었다고 생각되네요.