REDMINE 설치
환경 정보
- CPU - 3.4 Ghz (2 cores)
- Memory - 2 GB
- Storage - 20 GB
- Operating System - RHEL 8.2
- Hostname – lahuman
- IP Address - 192.168.0.2
- DBMS - Mysql 5.7
필요시 Redhat Repository 설정하기를 설정을 확인하셔요.
root 계정으로 진행합니다.
서버 최신 버젼 업데이트
$ dnf update -y
계정 생성
$ useradd -r -m -d /opt/redmineuser redmineuser
# 추후 bundle install시 필요
$ passwd redmineuser
$ usermod -aG wheel redmineuser
mysql 설정
mysql binary 설치시 설정을 참고하여 mysql 설치 할수 있습니다. 아니면, 아래 방법으로 쉽게 설치 할 수 있습니다.
# mysql 설치
$ yum install mysql-server -y
$ service mysqld start
$ mysql -u root

mysql> create database redminedb;
Query OK, 1 row affected (0.001 sec)

mysql> create user redmineadmin@'localhost' identified by 'P@ssw0rd';
Query OK, 0 rows affected (0.001 sec)

mysql> grant all privileges on redminedb.* to redmineadmin@localhost with grant option;
Query OK, 0 rows affected (0.001 sec)

mysql> flush privileges;
Query OK, 0 rows affected (0.001 sec)

mysql> quit
Bye
REDMINE 필수 라이브러리 설치
$ dnf install -y ruby ruby-devel rpm-build wget libxml2-devel make automake libtool mariadb-devel httpd-devel openssl-devel libcurl-devel gcc gcc-c++
방화벽 열기
REDMINE은 3000 port를 기본 값으로 서비스합니다.
$ firewall-cmd --add-port=3000/tcp --permanent
Success
$ firewall-cmd --reload
Success
REDMINE 설치 하기
$ su - redmineuser
# --no-check-certificate 옵션이 없으면 오류가 발생하여 추가 하였습니다.
$ wget https://www.redmine.org/releases/redmine-4.2.5.tar.gz --no-check-certificate
$ tar xzf redmine-4.2.5.tar.gz -C /opt/redmineuser/ --strip-components=1
$ cd /opt/redmineuser/
$ cp config/configuration.yml.example config/configuration.yml
$ cp config/database.yml.example config/database.yml
$ cp public/dispatch.fcgi.example public/dispatch.fcgi
DB 정보를 설정 합니다.
$ vi config/database.yml

production:
  adapter: mysql2
  database: redminedb
  host: localhost
  username: redmineadmin
  password: "P@ssw0rd"
  # Use "utf8" instead of "utfmb4" for MySQL prior to 5.7.7
  encoding: utf8mb4
bundler 설치(RUBY 관련 모듈)
$ gem install bundler
Fetching: bundler-2.3.10.gem (100%)
Successfully installed bundler-2.3.10
Parsing documentation for bundler-2.3.10
Installing ri documentation for bundler-2.3.10
Done installing documentation for bundler after 0 seconds
1 gem installed
REDMINE에 필요한 gem 모듈 설치 진행
# 운영에 필요한 모듈만 설치하도록 설정
$ bundle config set --local without 'development test'
# path 설정
$ bundle config set --local path 'vendor/bundle'
# 모듈 설치
$ bundle install
...
RubyZip 3.0 is coming!
**********************

The public API of some Rubyzip classes has been modernized to use named
parameters for optional arguments. Please check your usage of the
following classes:
  * `Zip::File`
  * `Zip::Entry`
  * `Zip::InputStream`
  * `Zip::OutputStream`

Please ensure that your Gemfiles and .gemspecs are suitably restrictive
to avoid an unexpected breakage when 3.0 is released (e.g. ~> 2.3.0).
See https://github.com/rubyzip/rubyzip for details. The Changelog also
lists other enhancements and bugfixes that have been implemented since
version 2.3.0.
쿠키/세션 관련 시크릿 키 생성
$ bundle exec rake generate_secret_token
데이터 마이그레이션 및 기본 데이터 셋팅
$ RAILS_ENV=production bundle exec rake db:migrate
$ RAILS_ENV=production REDMINE_LANG=en bundle exec rake redmine:load_default_data
추가 필요 디렉토리 생성 및 권한 설정
$ mkdir -p tmp/pdf
$ mkdir -p public/plugin_assets
$ chown -R redmineuser:redmineuser files log tmp public/plugin_assets
$ chmod -R 755 /opt/redmineuser/
레드마인 실행
$ bundle exec rails server webrick -e production
화면 확인
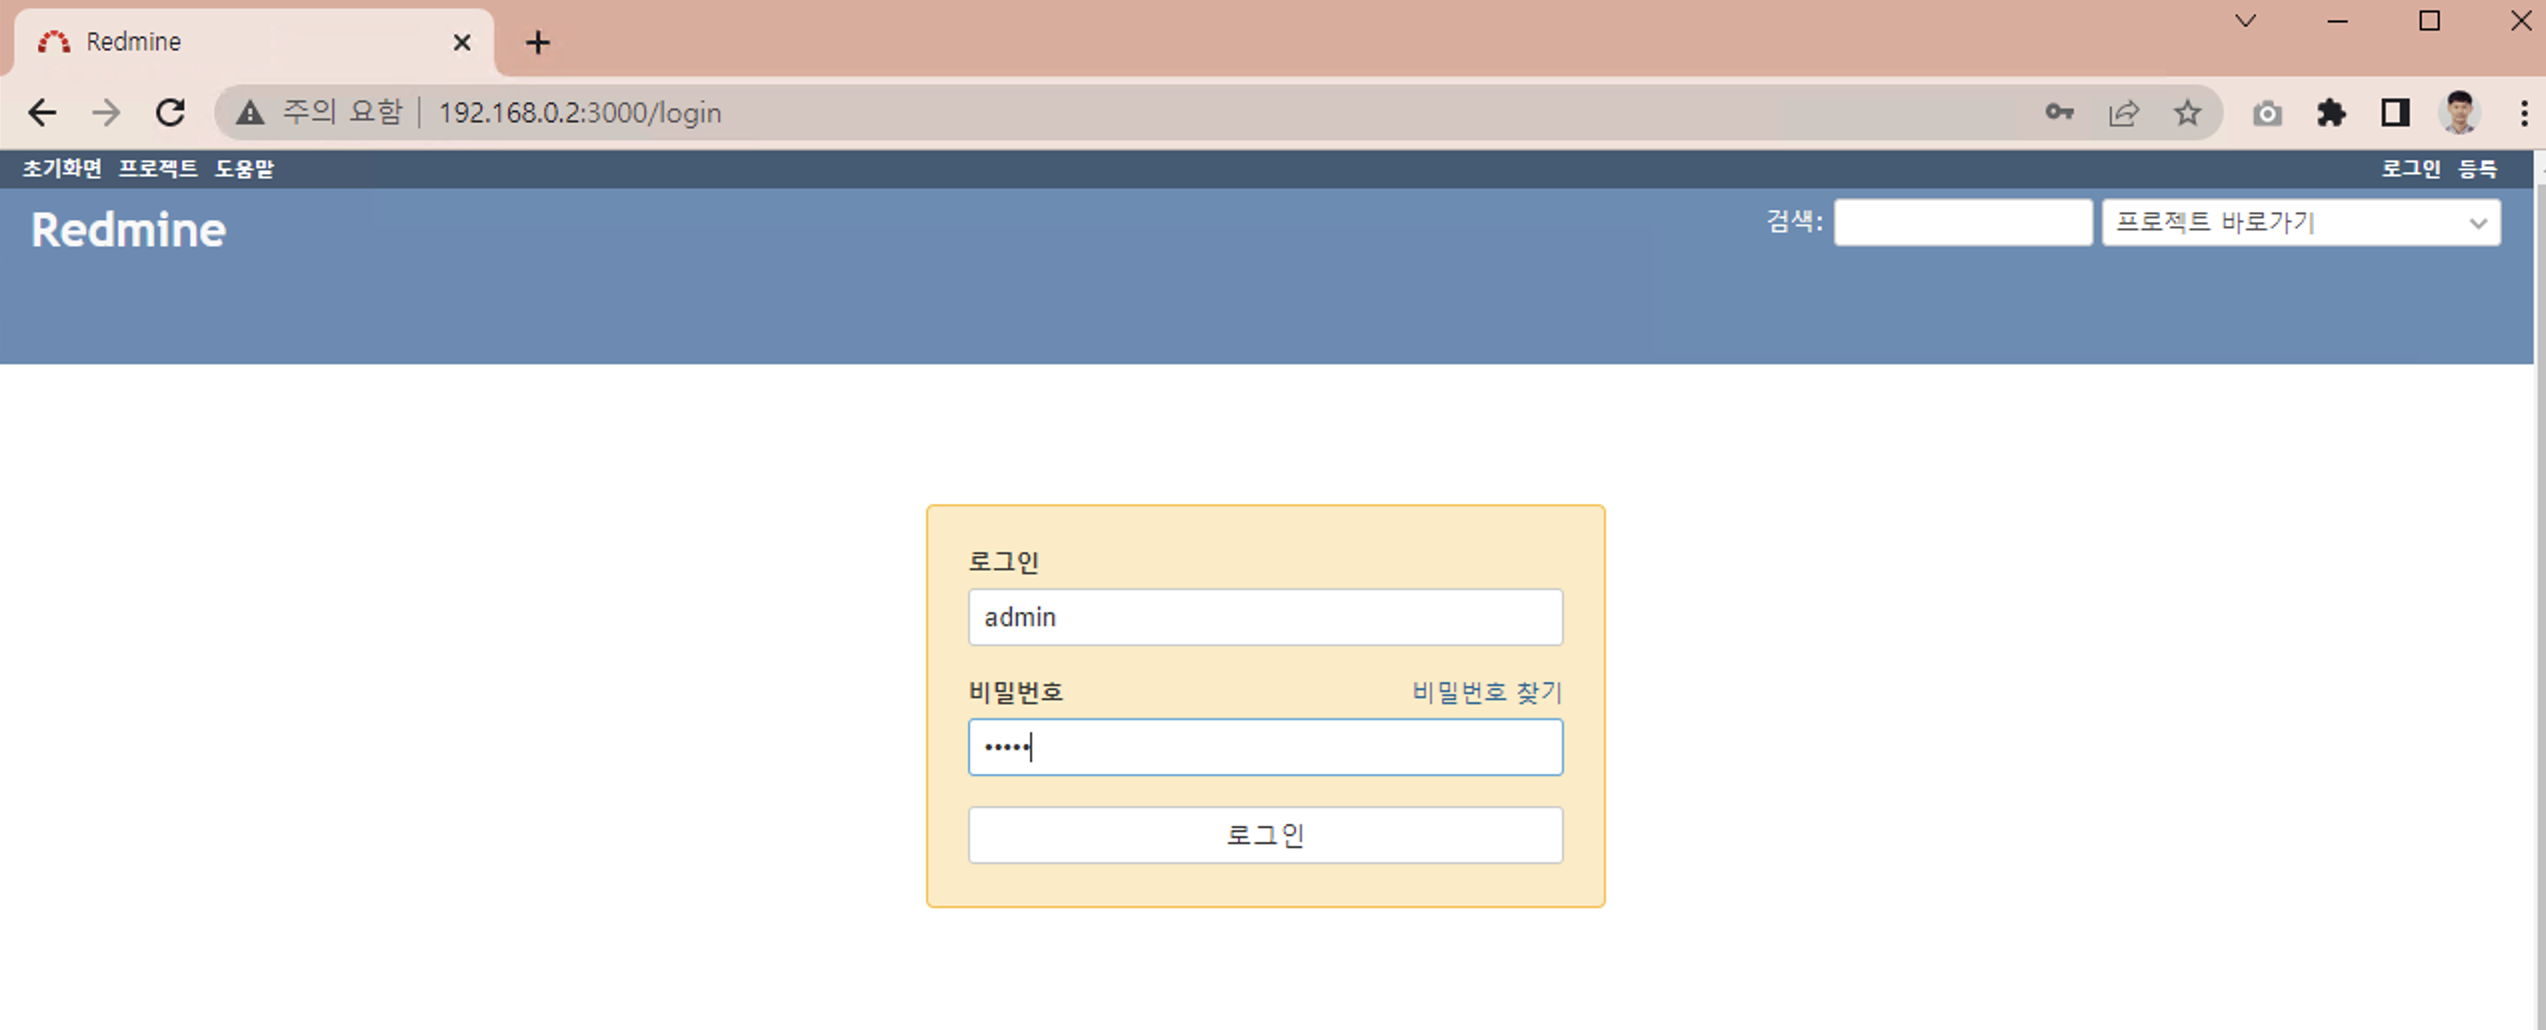
http://localhost:3000 으로 접근 합니다.

초기 비밀번호는 admin/admin 입니다. 최초 로그인시 비밀번호를 변경하여야 합니다.
추천 플러그인
많은 플러그인이 있지만, 다음 2개의 플러그인이 가장 기본으로 생각되어 추천 합니다.
- Redmine Stronger plugin
- 기본 무차별 대입 방지 시스템 : Redmine의 표준 로그인 형식은 취약합니다. 특히 사용자가 많고 비밀번호 정책을 관리할 수 없는 경우에 그렇습니다. 이 기능은 5번의 비밀번호 제출 실패 후 모든 사용자 계정을 잠급니다. 그런 다음 관리자 또는 콘솔을 통해 사용자를 수동으로 잠금 해제해야 합니다. 사용자가 성공적으로 로그인할 때마다 카운터를 재설정합니다.
- Redmine WebHook Plugin
- Redmine 플러그인은 티켓 생성 및 업데이트에 대한 웹훅을 호출 합니다.